What You Can Do With 20 Liters of Raw Milk
Last Sunday, I had successfully convinced another expat, who had a car, to drive me to the local milk station. I proudly brought along my recent purchase of two ten-liter jugs. The regulars who were there to pick up their one liter of fresh milk were not too happy to see me; pumping out 20 liters of milk at the station took almost a quarter hour. However, with my milk in hand, I rushed back to my apartment to begin my cheesemaking adventure.
This station allows folks to purchase fresh, raw milk directly from the farmer. This raw milk, if allowed to sit, will develop a cream-top (i.e., heavy cream layer on top and “skim” milk on the bottom). Not wanting to have this separation occur, I began my make day immediately – at 5 PM… I had mentally prepared for the long night ahead of me. Cheddar is a delicious cheese, but a very long process.
The only thing left ahead of me was to start the process of removing the water from the milk, “preserving” the fat and minerals as cheese.
Cheddar
I began my evening with cheddar. I decided to use 15 liters of the milk. As will always be an undeniable truth, my 20 liter stockpot has only ambitions to hold that much liquid. As such, I chose to reserve enough milk to make some quick mozzarella the next day.
The process was fairly textbook: I hit my acidity levels on time, my flocculation points were on target, and the cheddaring process resulted in some squeaky cheese curds.
For those interested, using flocculation timing is a more reliable method than the “clean cut” test. One keeps track of the time between adding the rennet and when the curd first forms its matrix. You will know this occurs when a plastic cap no longer moves freely on the surface of the milk.
Pre-flocculation:
Post-flocculation:
After recording this time, recipes often suggest a multiplier to be used to time when to cut. For cheddar, I use a multiplier of three. My flocculation point occurred after 15 minutes; I cut my curd 45 minutes after I had added the rennet. By keeping track of my acidity levels with continual checks of pH (in my very scientific egg cup), I knew when to mill the curd, heavily salt the curd, and begin pressing it.
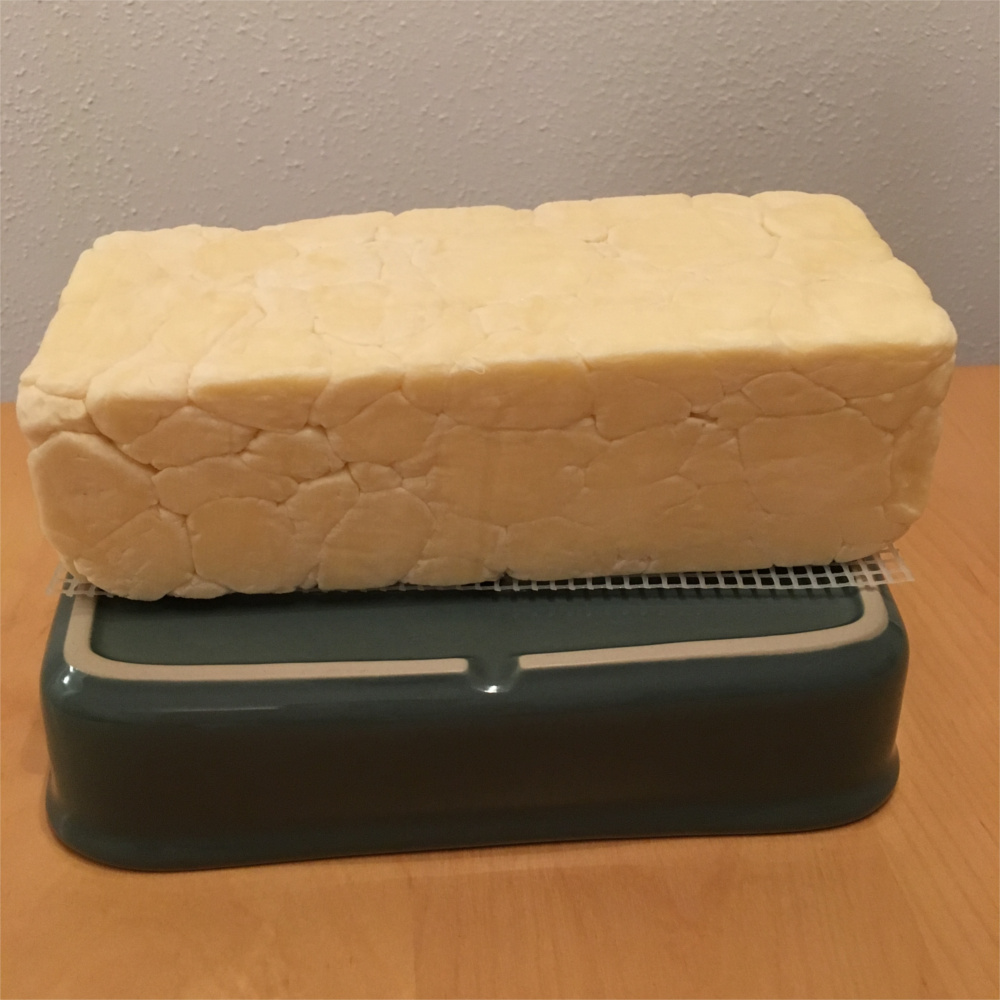
This is when I learned of my mistake. The cheddar mold was designed for a large cheese; I was about a kilogram short of the optimal amount. I should not have reserved so much for mozzarella. And I should really invest in a smaller mold… Your goal is a smooth rind after pressing. I did not achieve a smooth rind. I had considered simply eating and sharing the very mild cheddar as is. I also started looking for someone with a vacuum sealer. However, as I had set out to make cloth-bound cheddar, and it was my first attempt, I soldiered on.
I prepared my lard and started painting my cheese (after two days of drying the rind). I then applied a couple layers of cheesecloth, then painted another layer of lard over the top of that. I returned my slick cheddar back to the mold and pressed with a heavy weight for another day. It was hard to get that block back out of the mold, but I eventually succeeded.
I found a nice home for this cheddar block in my basement, where the temperature is fairly constant, and it is quite damp. I built a bit of a cheesecloth fort around the cheese in an attempt to deter flies, but I don’t know if I should expect rodents. Regardless, this first go at cloth-bound cheddar definitely gave me a lot to think about. Attempt #2 should not be too far off.
Ricotta
Once the cheddar was in the mold (around midnight) and draining in my shower, I started to rapidly heat the whey (i.e., the water I was removing from the milk in order to preserve the fat and minerals). This whey still contains a good amount of proteins, which I was going to extract via heat and acidification. Once the whey gets to approximately 160°F, you will add a tablespoon or two of salt for taste and bit of extra milk which will provide a bit more yield than whey alone. Remove the foam as you go; otherwise, the foam makes the harvesting of the ricotta difficult in the end.
At 190°F, you will add acid in the form of citric acid, lemon juice, or vinegar. This is to shock the whey and precipitate out the ricotta. You won’t know how much to add as each batch is different. From my cheddar whey, I added none as it was acidic enough that the heat alone created the layer of ricotta. Continue to heat until the surface breaks, turn off heat and cool for 10 minutes. Then transfer to a mold to drain. Enjoy.
Quick Mozzarella
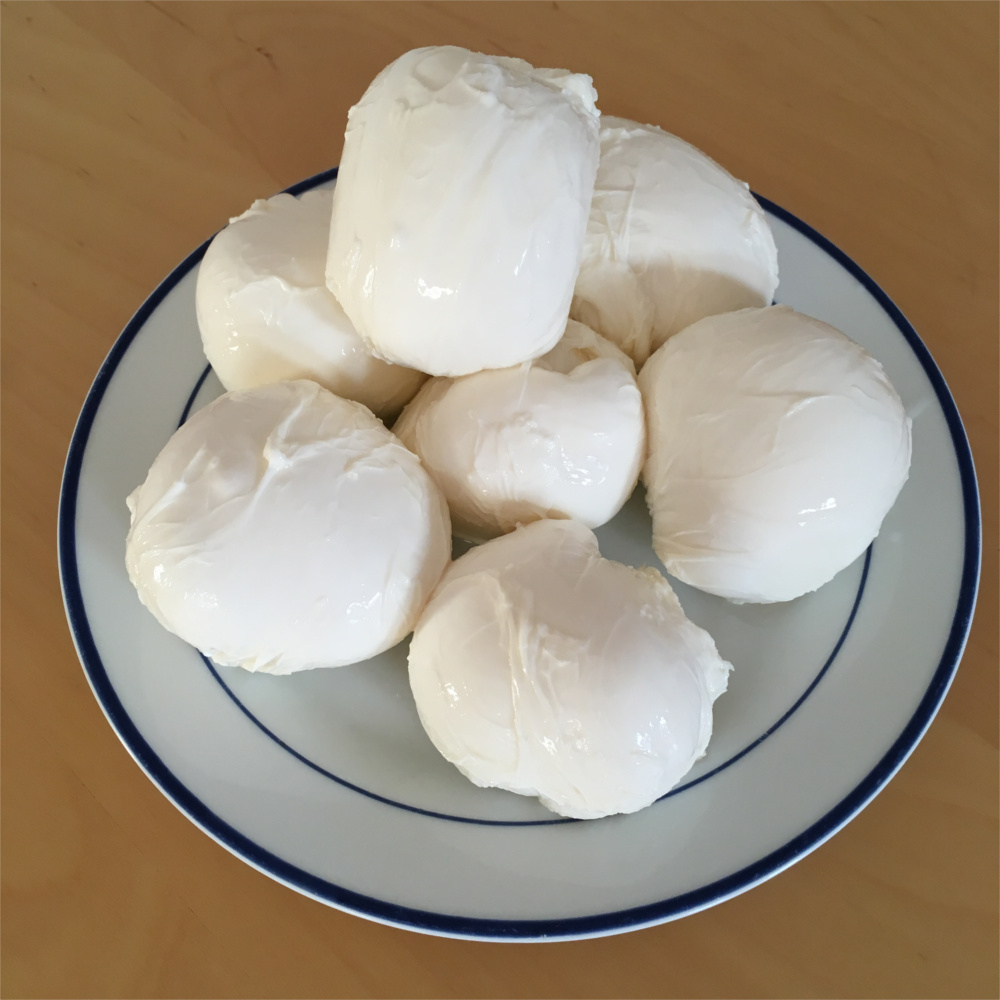
Having had a good night’s rest, I awoke the next day with plans to make some quick mozzarella. Again the process went fairly smoothly. I added a package of citric acid to my five liters of cold milk; I could only find packages in the store – each package was five grams each. I heated, coagulated, drained and stretched the curd. I had salted the water I had used to stretch the curd, but I forgot to salt the brine where I stored the cheese. The next day as I was making deep-dish pizza with the mozzarella, the cheese was noticeably bland. Don’t forget to salt your brine!
With 20 liters of milk, I was able to make three different cheeses in two days. It was a fantastic first round, and I learned quite a bit from the small mistakes along the way. If you are near Erfurt and want to try some cheese, just let me know. I am open to all kinds of barters!


